
General info
Our Product Specifications Sheet includes information on all of our broadheads such as dimensions, materials, and weights. This is especially helpful if you want to compare products or see exact measurements before purchasing.
You can view and download our product specification sheets here.
All of our product line is proudly made in the United States of America. We have been a manufacturing facility in the heart of the Midwest (Fort Wayne, Indiana) for over 3 decades now!
Vantage Point Archery is one of the largest growing Archery/Outdoor Sports manufacturers in the industry today. Having humbly started as a small company in the heart of the manufacturing midwest, VPA knows what it takes to work tirelessly to develop the most reliable line of products. All of our products boast a one piece CNC machined finish that is superior with flight, durability, and ease of maintenance. Join the VPA team today and see what sets us apart for yourself!
Common Questions
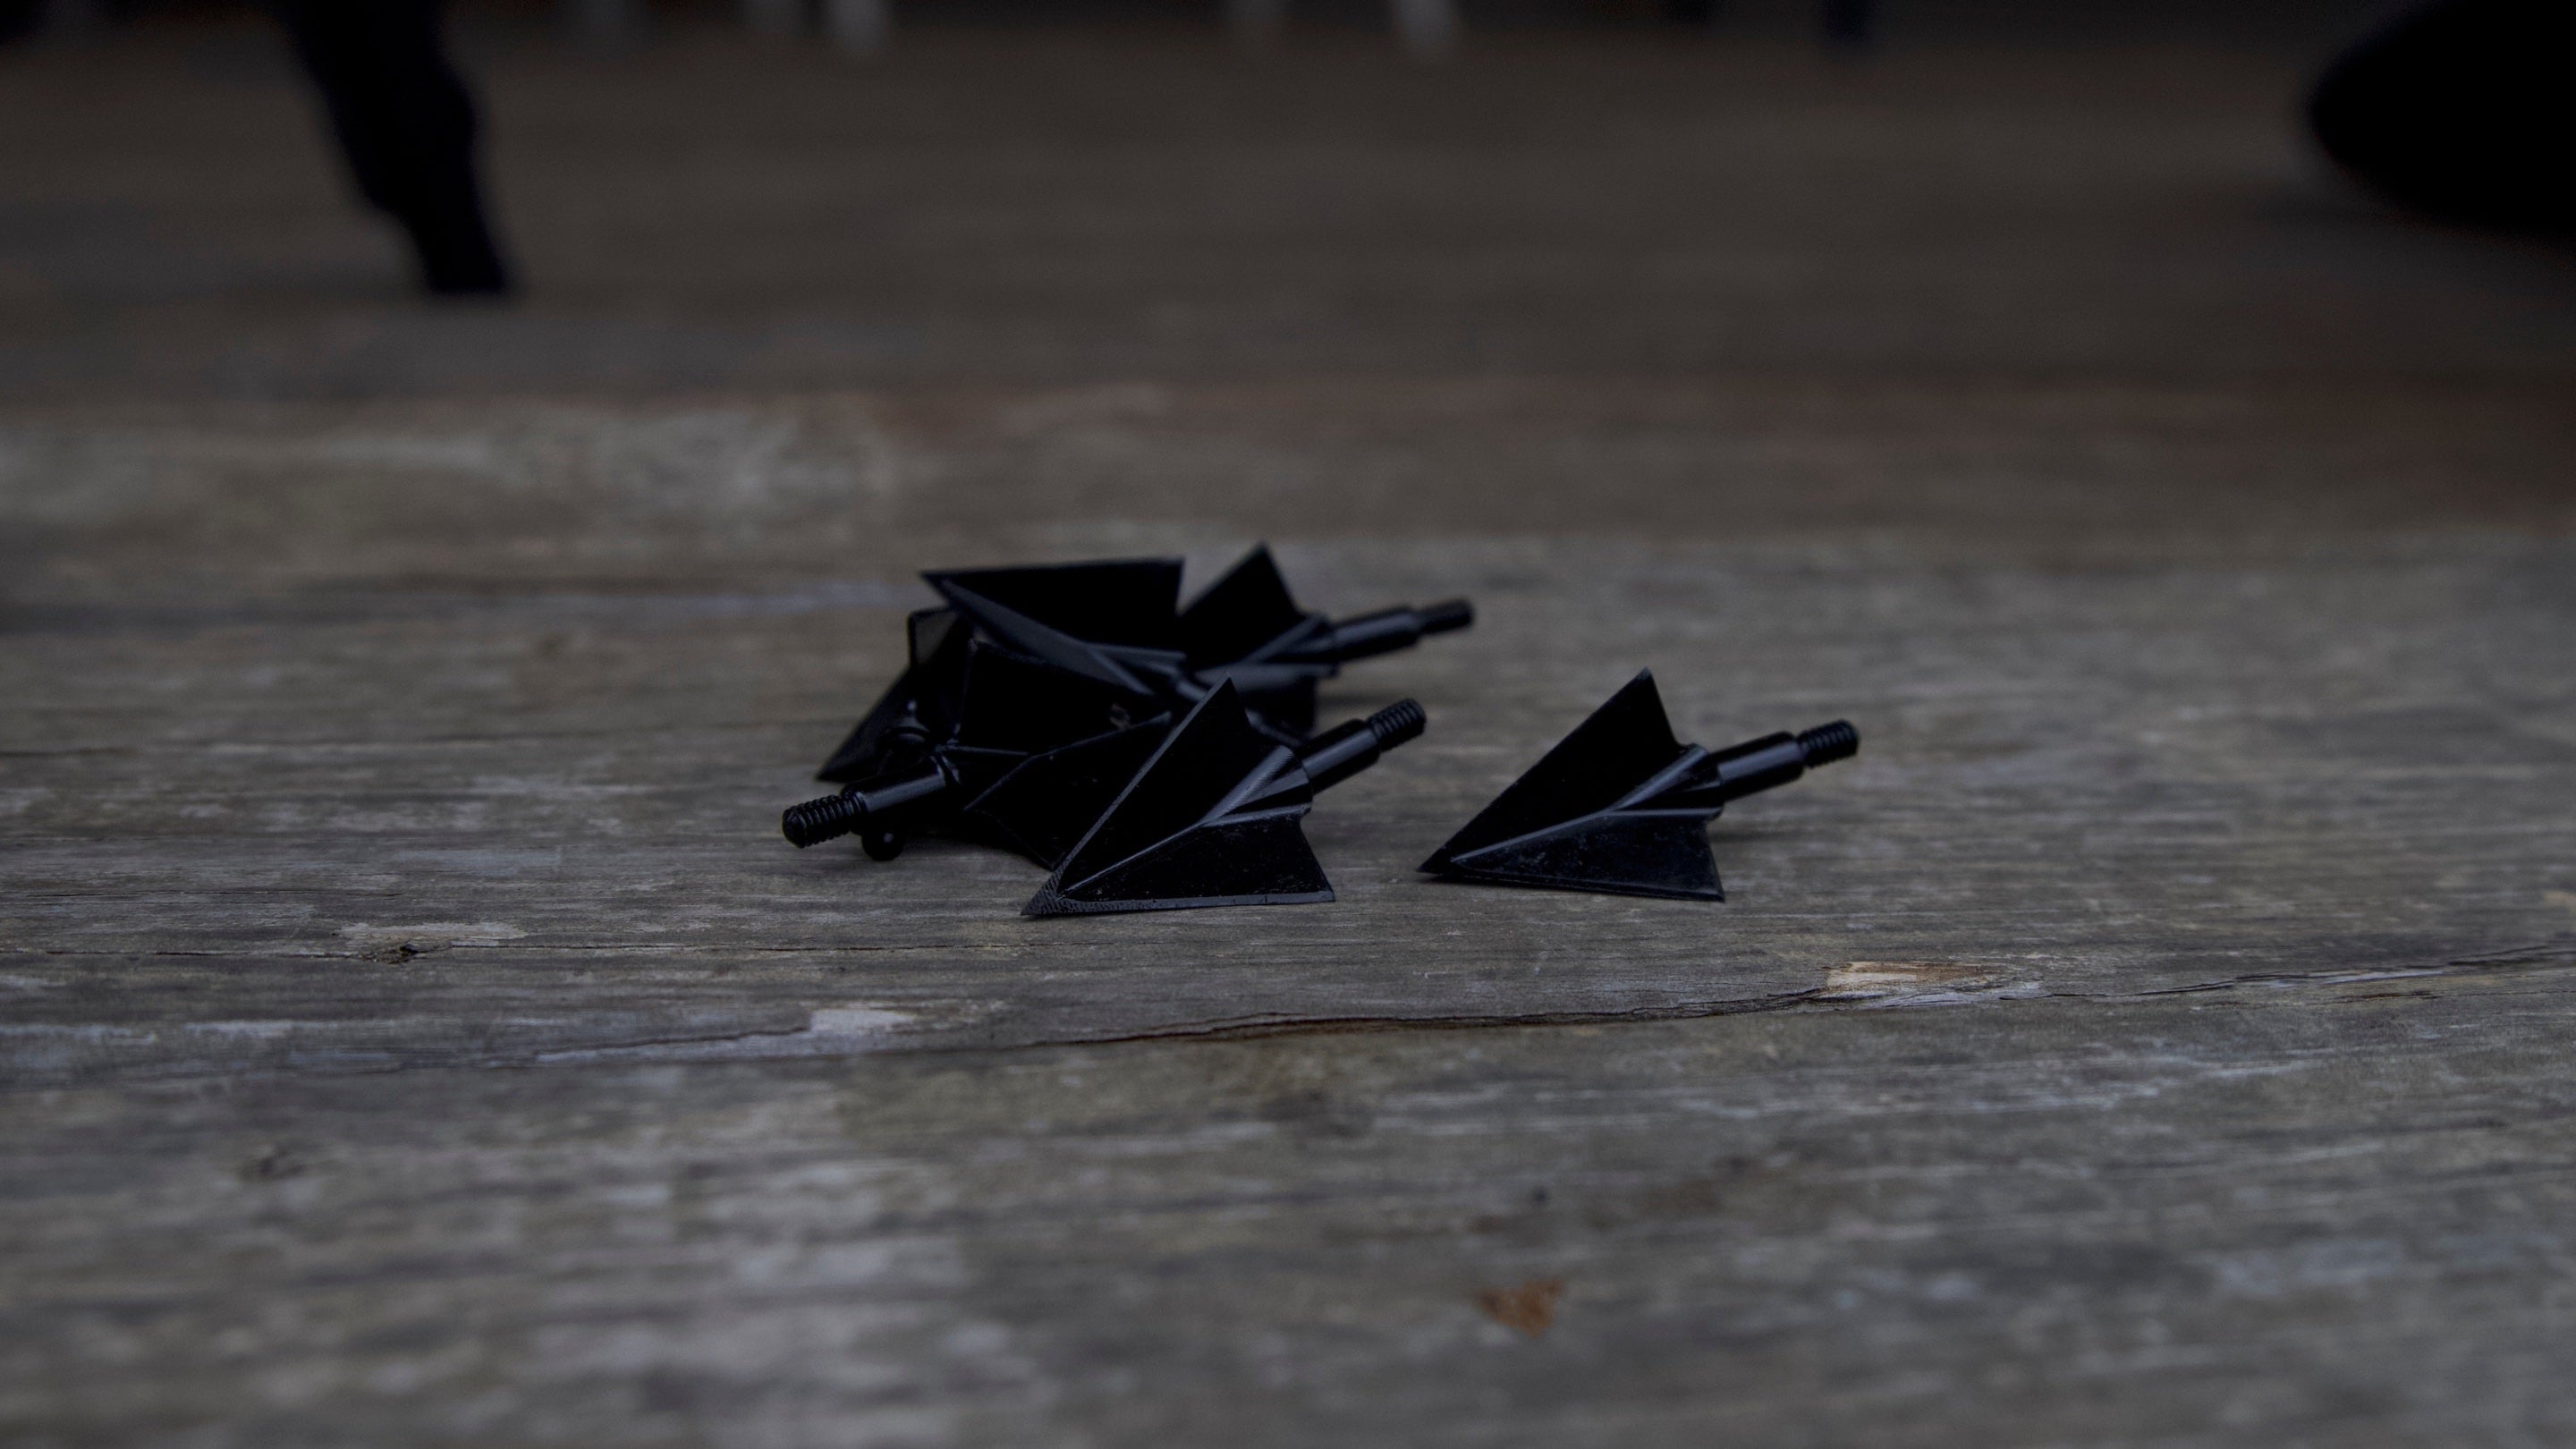
Vented broadheads will be slightly more accurate in the wind and on longer shots past 40-50 yards. However, the vents make noise.
Solid broadheads will be silent, but less forgiving in the wind and on shots past 40-50 yards.
We recommend going with the vented broadheads if you plan to hunt in windy environments and/or taking shots that are 40+ yards.
We recommend solid style heads if you are planning on shooting inside 40 yards.
Both are great options that will always get the job done, we
suggest shooting whatever you feel comfortable with.
Deciding between these three types of broadheads comes down to personal preference and what you are specifically trying to achieve. The biggest difference between the three is the penetration and the blood trail/damage.
2-Blade Double Bevels
Traditional 2-blades are known for their sleek profile which allows for the best penetration of the three styles. It is best for those seeking maximum penetration. However, its sleek profile does not create a large entry wound, therefore creating less of a blood trail.
3-Blades
3-blade broadheads create large entry wounds, resulting in the best blood trails. The small downside is that the third blade creates more resistance moving through an animal. This results in less penetration.
2-Blade Single Bevels
Single bevels are in between the other two styles. Upon impact, the broadhead rotates in a corkscrew motion through the animal. This causes lots of damage on the inside, while still providing great penetration with the 2-blade shape. Single bevels have better penetration than a 3-blade, but not quite as good as a double bevel 2-blade. They also do more damage than a 2-blade, but not quite as much compared to a 3-blade.
We recommend getting a 600 grit diamond stone (any stone or paper will work) and a leather strop. Most sharpening can be done with 600 grit, but sometimes 300-400 grit is necessary for very dull blades.
Additional accessories will be needed depending on the type of broadhead you have.
3-Blade: No extra accessories needed, our 3-blades just lay flat on the stone.
Omega: No extra accessories needed. Screw the broadhead into an arrow shaft and lay flat on the stone.
2-Blade Double Bevel: Our 2-blade double bevels have a 22.5 degree blade angle. You will need a jig that can sharpen blades at that angle. We recommend the KME broadhead sharpener. The Delta Jaws accessories for broadheads under 2" is required. This includes all 2-blade double bevels except for 2-blade 300 grain 1 1/4".
2-Blade Single Bevel: VPA single bevels have a 35 degree blade angle. You will need a jig that can sharpen blades at that angle. We recommend the KME broadhead sharpener. The Spacer Block accessory is needed for ALL single bevels. The Delta Jaws accessory will be required for broadheads under 2". This includes all single bevels except 300 grain.
See in-depth sharpening guides at the bottom of this page.
Our 13" riser's 20 degree limb pad angle compensates for the difference, so there is no weight gain.
Shipping
Orders are usually shipped same or next business day. Some items may be backordered or accepting preorders. This information will be provided in the item description along with an estimated time they will be available to ship.
When your order is shipped, delivery usually takes 2-4 days. International orders normally take 10-20 days to arrive depending on location.
Not sure if your order will arrive on time? We offer 1 day and 2 day shipping options.
Free shipping on orders $150+ applies to VPA items only (U.S. only). Because our Collective partners (such as Uncharted Supply Co. and others) fulfill their products directly, they may charge separate shipping on those items.
Returns
Returns and Exchanges
If for any reason you are not 100% satisfied, please contact us or fill out the return form linked here.
Manufacturer's Warranty
If the product you purchased is defective or not performing in a way it should be, we will make it right. Please contact us at info@vparchery.com for further instruction.
Products manufactured by VPA are covered under our standard warranty and return
policies. Items sold from partner brands like Uncharted Supply Co. are fulfilled and supported separately. Please check with the brand directly for their warranty coverage.
Sharpening and Maintenance
2-Blade Double Bevel Sharpening Guide
AC Hole Punch Sharpening Guide
Ensuring proper care for your equipment is crucial to maintain its performance and longevity. Our broadheads can be susceptible to rust if not properly cared for. It's important to note that even stainless steel can corrode over time. To prevent this, we recommend keeping them dry, regularly sharpening them, and applying a protective layer of oil or Vaseline/ChapStick before storing them back in the quiver. By following these simple steps, you can ensure that your broadheads consistently meet and exceed your expectations.